For steps pre-configuration in Stripe’s website to NOT SKIP:
1.- First, to make this module works is absolutely necessary to have a Stripe account.
You can open one for free here: https://stripe.com/
2.- Obtain the Stripe API Keys.
Learn how to do it here: Where to find my Stripe keys
3.- Then, you have to activate Google Pay and Apple Pay in Stripe.
Learn how to do it here: Enable Apple Pay and Google Pay in Stripe
4.- Also, register your domain for Apple Pay in Stripe.
Learn how to do it here: Register my domain for Apple Pay in Stripe
General configuration
Validate InstantPay
The first option you will have to complete for the module corresponds to the ID of your order in Prestashop Addons. Once this information is saved, if the order number is correct, the module will be validated and you will be able to continue configuring the rest of the options:

If you have previously used this licence with a domain, the module will show you how to change the domain in the Grafeco Network control panel. You will have to register on our website and with the token that the module shows you, you will be able to manage your domains.
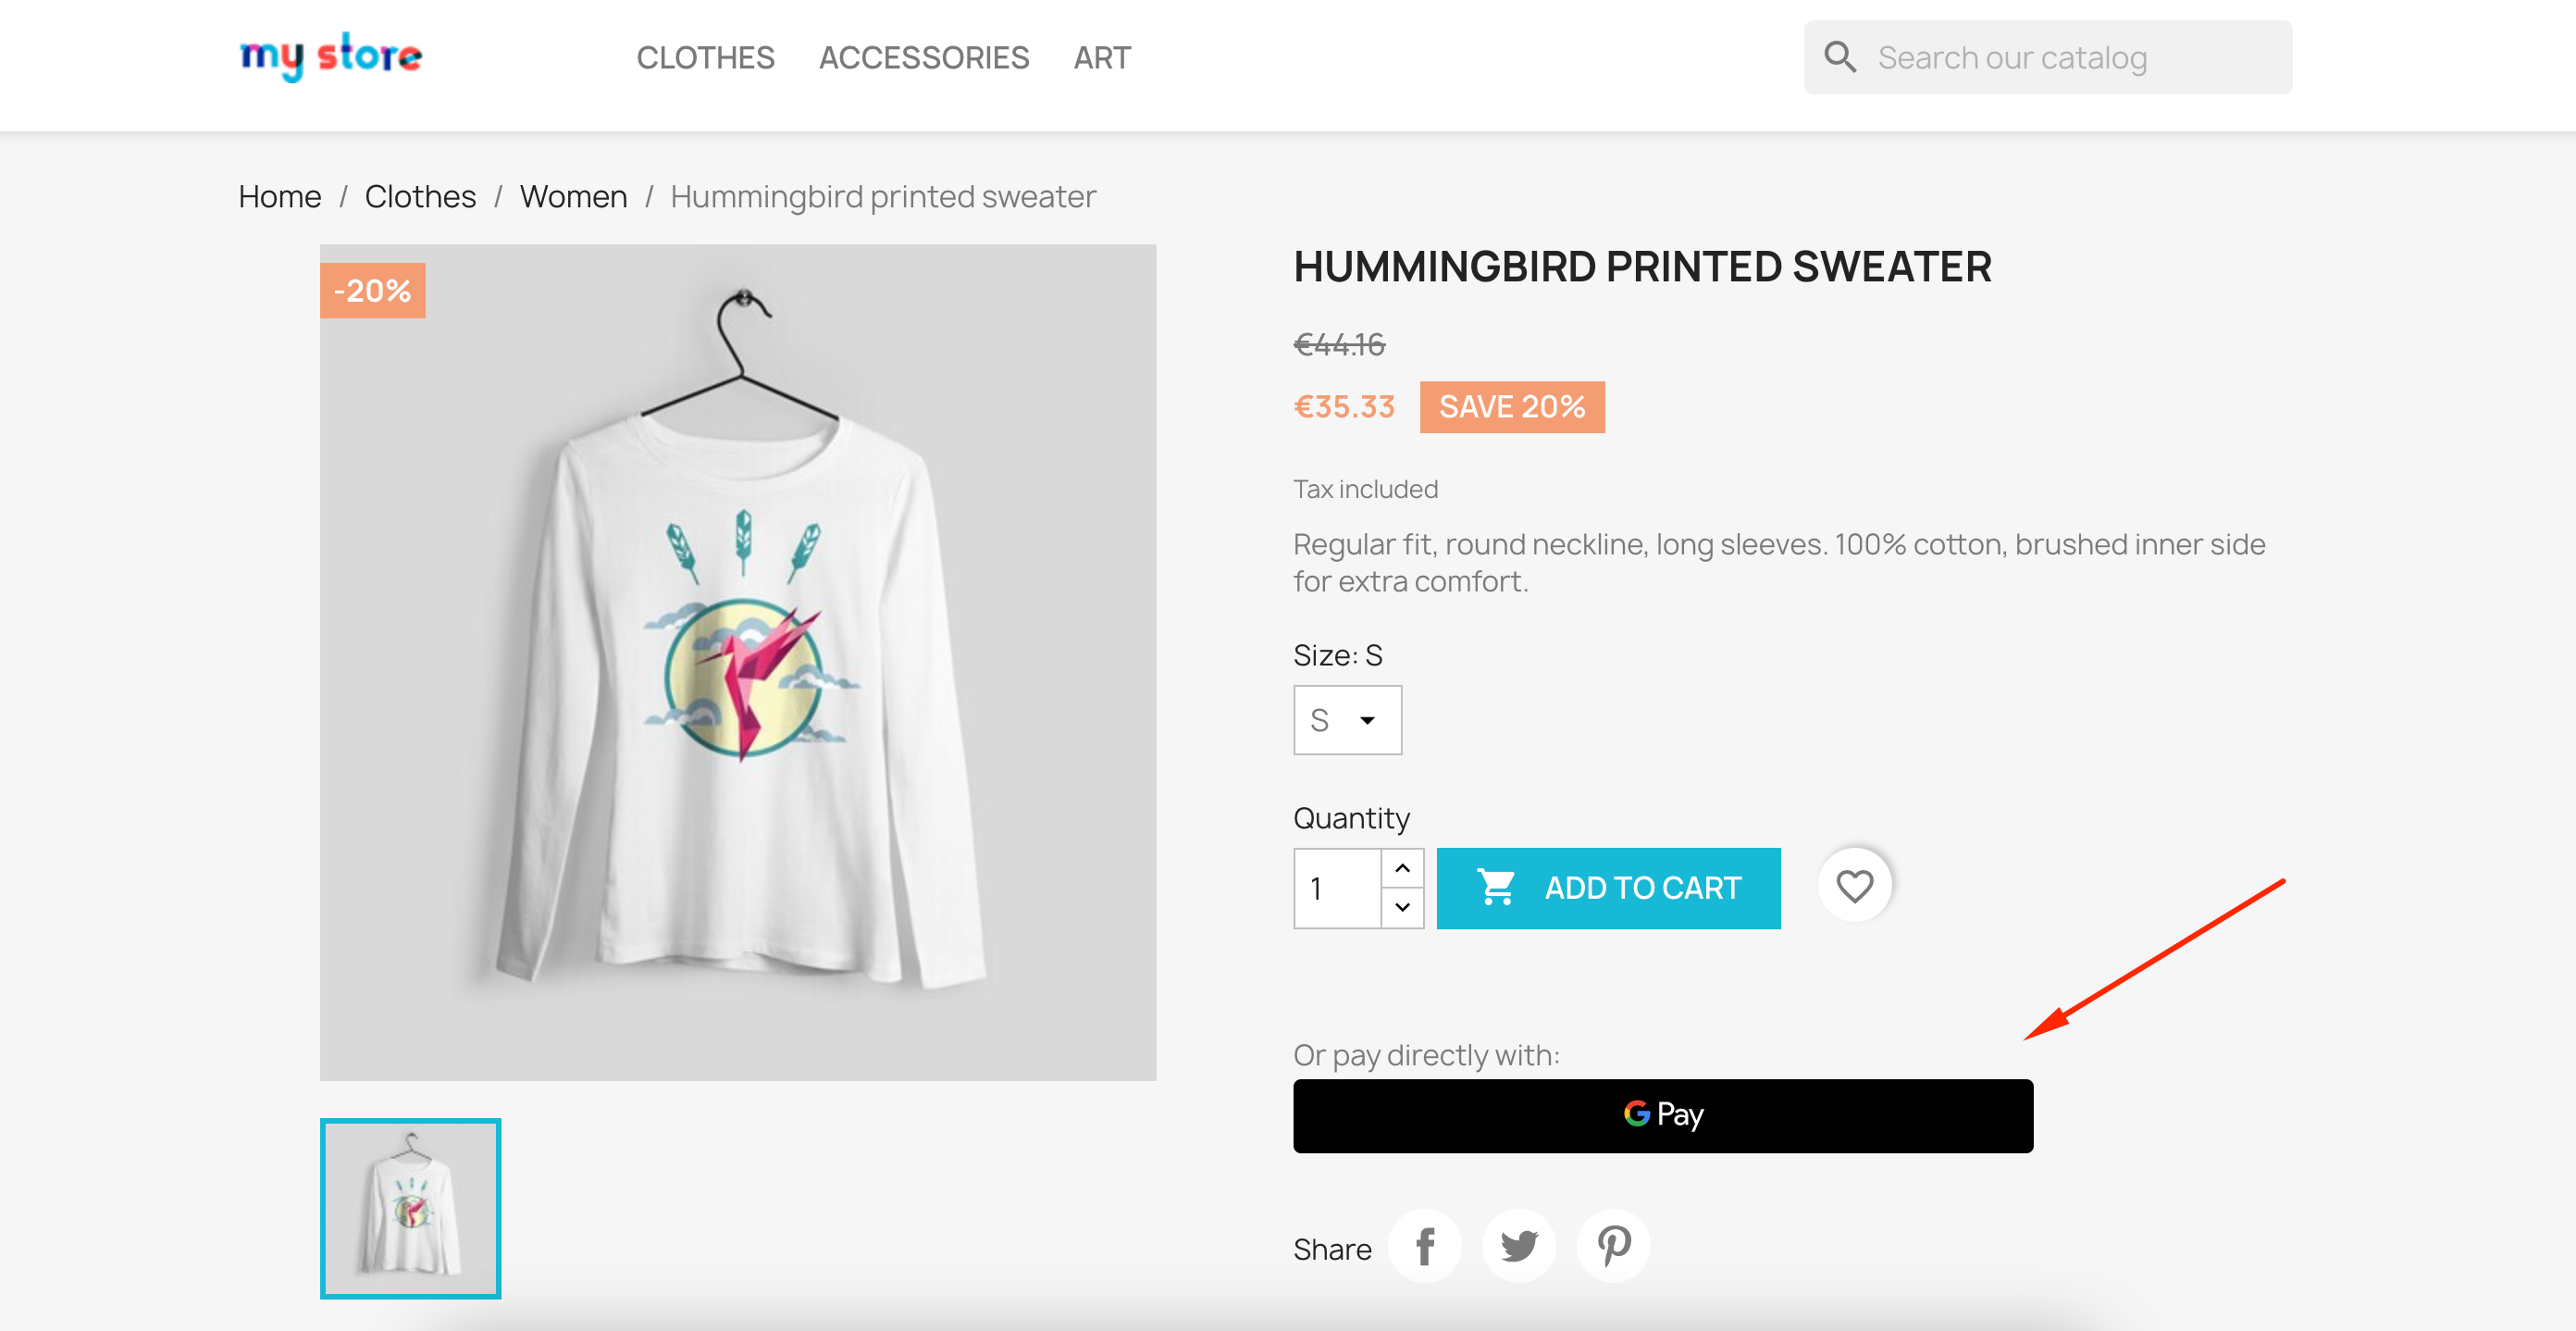
Activate InstantPay on the Product Page:

If we enable this option, the Apple Pay or Google Pay module will appear below the “Add to cart” button on the Product Page. The hook this module used here is [displayProductAdditionalInfo]
Example:
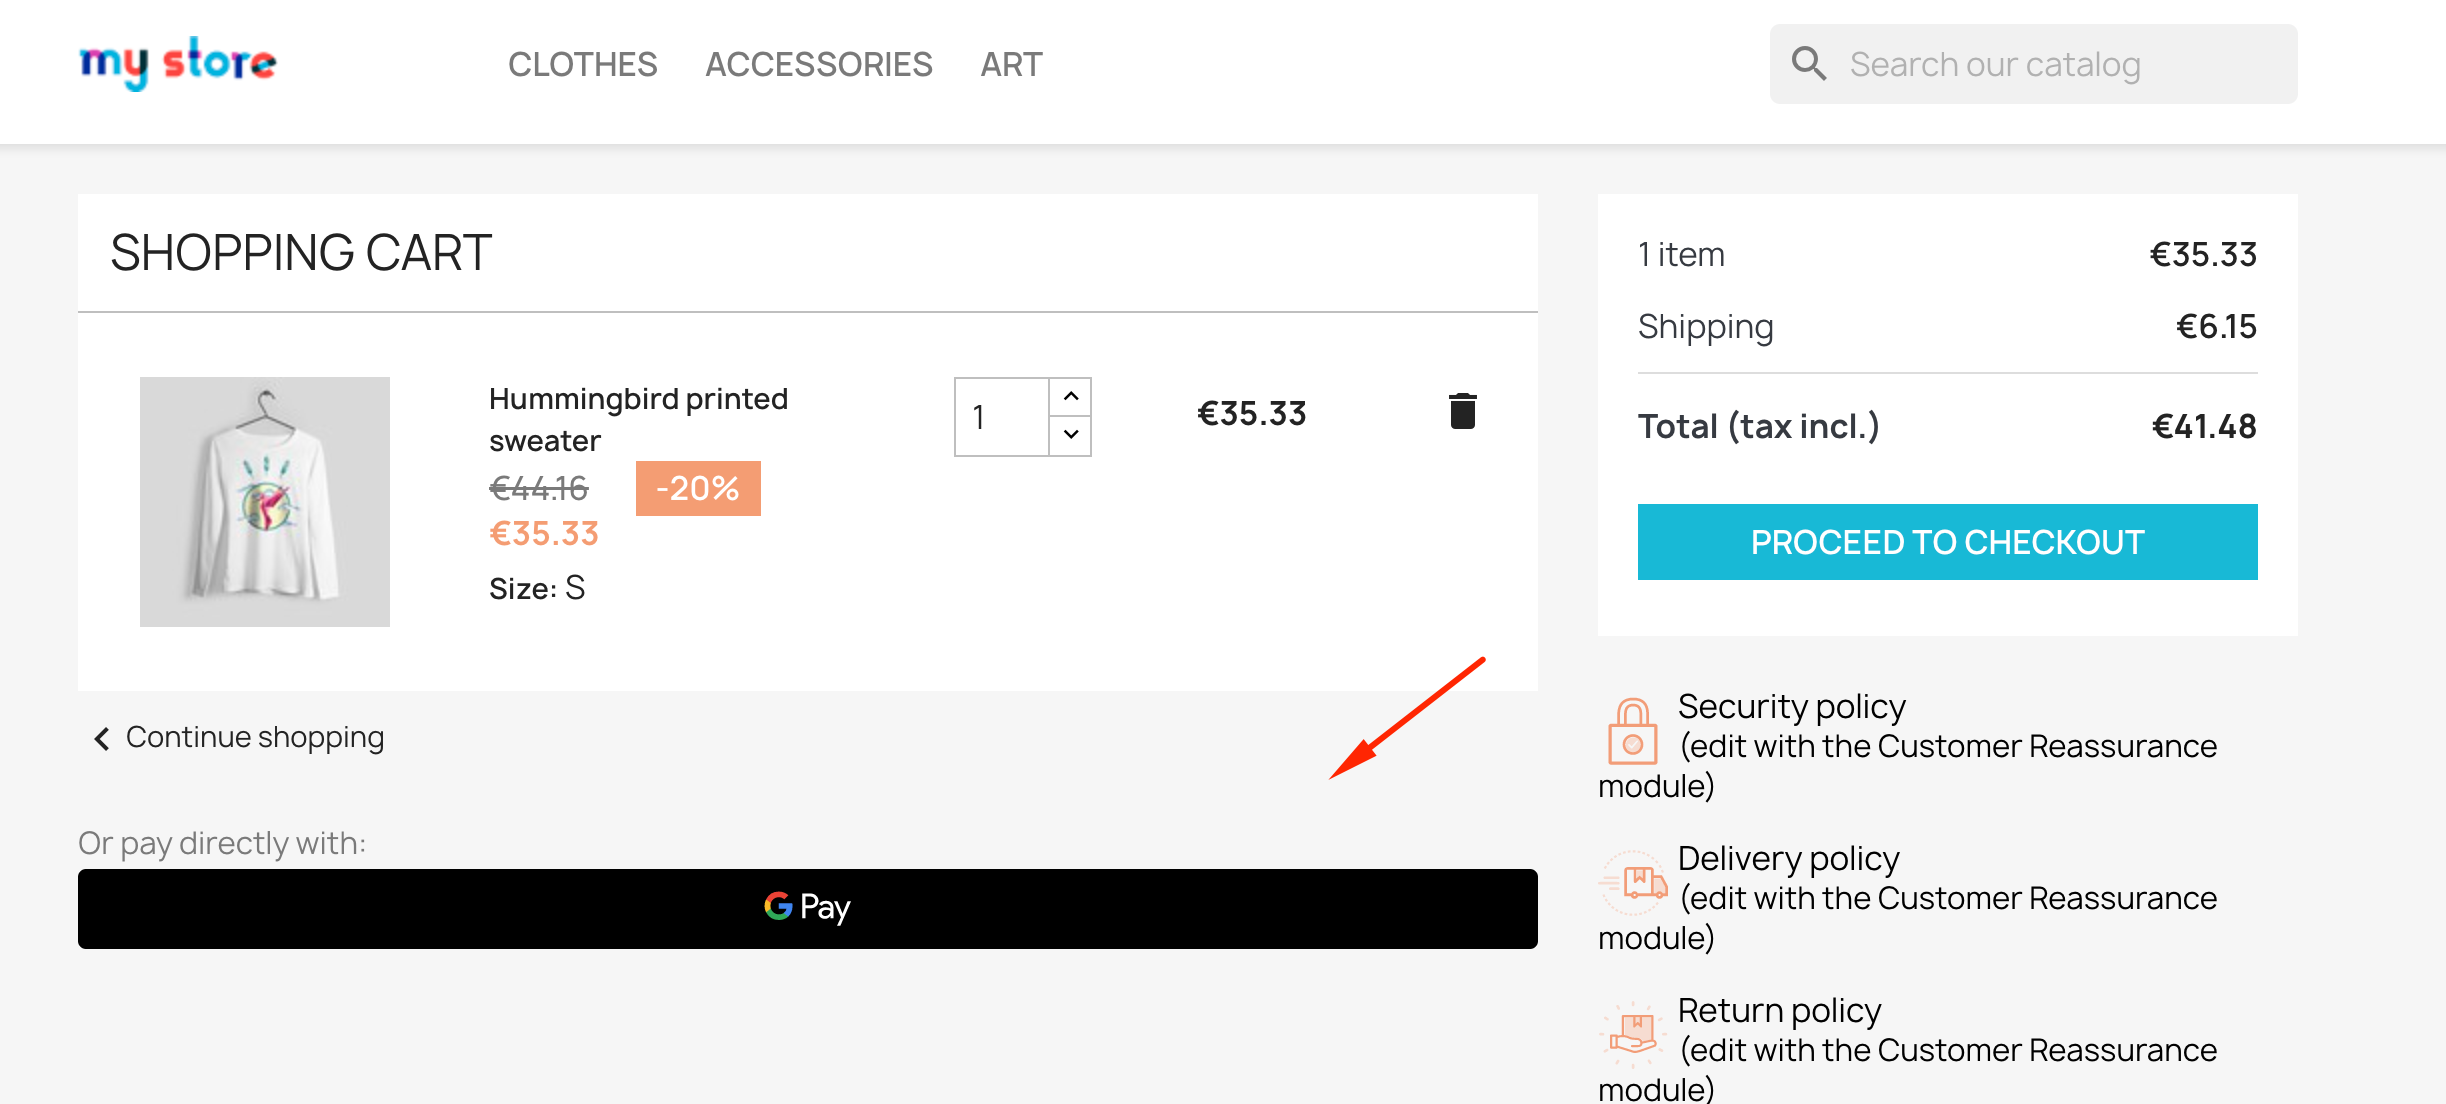
Activate InstantPay on the Cart Page:

If we enable this option, the Apple Pay or Google Pay module will appear below the Products Resume table in the button on the Cart Page. The hook this module used here is [displayShoppingCartFooterdone]
Example:
Insert the keys of Stripe:

Here you have to insert the Keys of Stripe. Learn how to do it here: Where to find my Stripe keys
Order Status after payment:

Once the customer paid the order, the module will set the Order Status. Here you can select the one you prefer. By default, the module will set it as a “Payment Accepted”.
Legal text and Legal Page:

If “Activate legal text” is Enabled, a text will appear under the payment button with a link to the Legal Page. You can also select your “Legal Page” from here. For some countries, this text could be imperative.
Input identifiers for Quantity, ID_Product_Attribute and ID Product on the Product Page:
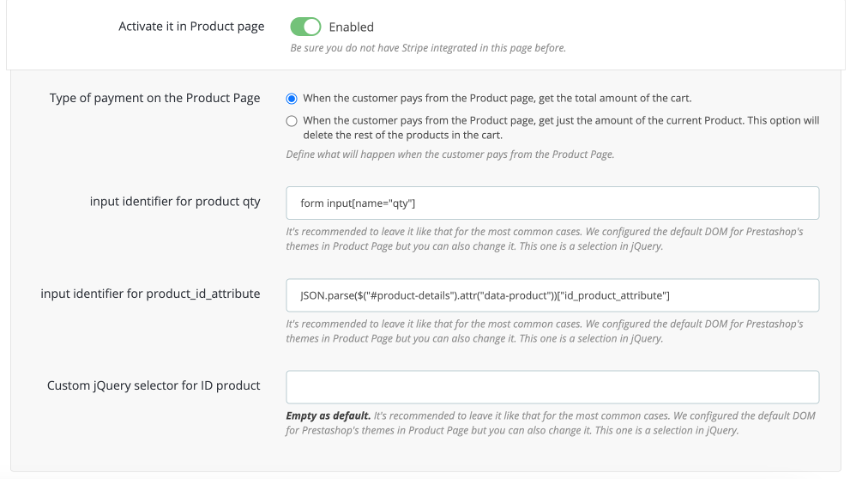
If you activate this module on the Product Page, the parameters “Quantity” and “ID Product Attribute” from the Product Page will be processed in jQuery. Here we determine the values Prestashop 1.7 has default but if your Template has any other selectors, you will need to change them.
If you need to change the selectors, you can learn how to do it here: Change jQuery selectors in InstantPay
Text for unsupported browsers
You can activate the text for unsupported browsers. This text will appear if the browser the customer is using does not have Apple Pay or Google Pay payment methods enabled to prompt the customer to switch browsers.
Force root domain
In very rare cases, some shops have configured Prestashop multi-domains outside the database, so this option forces the module to pick up the parameters in absolute lookups. It is recommended to keep it disabled in most cases.
HOW TO TEST MY MODULE
Once you have your module configured, let’s test it.
We develop this module in a simple way to test it. All the advertisements and errors will appear in the Console of your browser.
We made an extended guide to test it step by step here: How to test InstantPay Module